Remove the Smartwebfinder.com Search Redirect

Smartwebfinder.com Search Redirect


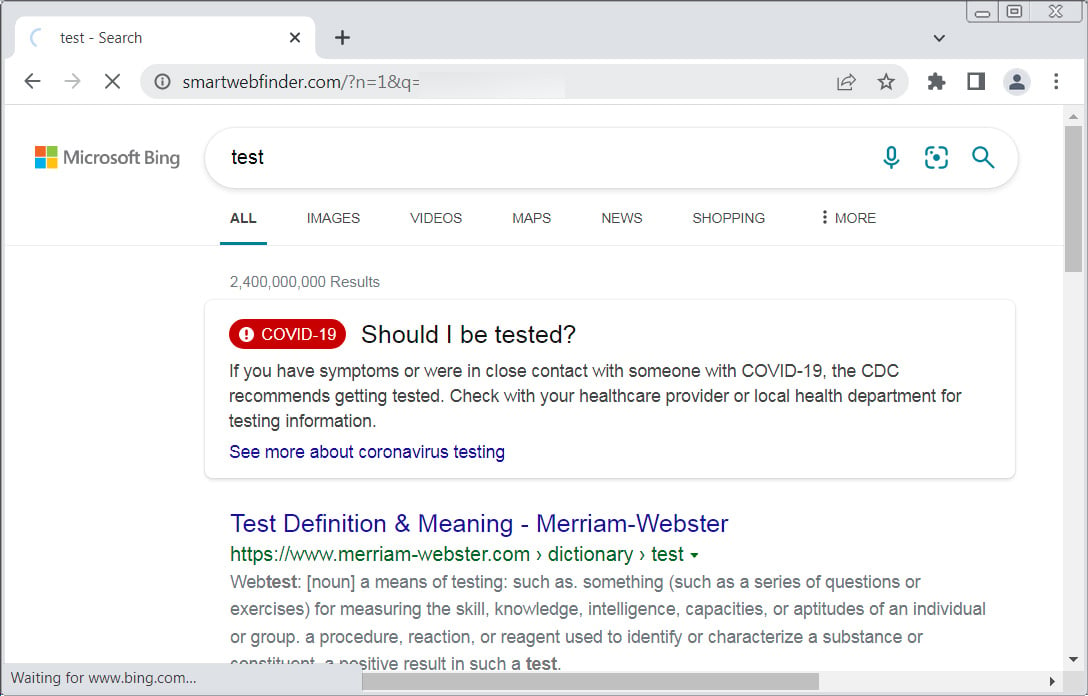
If your browser is redirected through Smartwebfinder.com when performing searches through the address bar, you most likely have a browser extension installed that has modified the default search URL.

When installed, these extensions modify your web browser’s configuration to automatically send all searches through smartwebfinder.com, which ultimately redirects to Bing.com to show the requested search results.

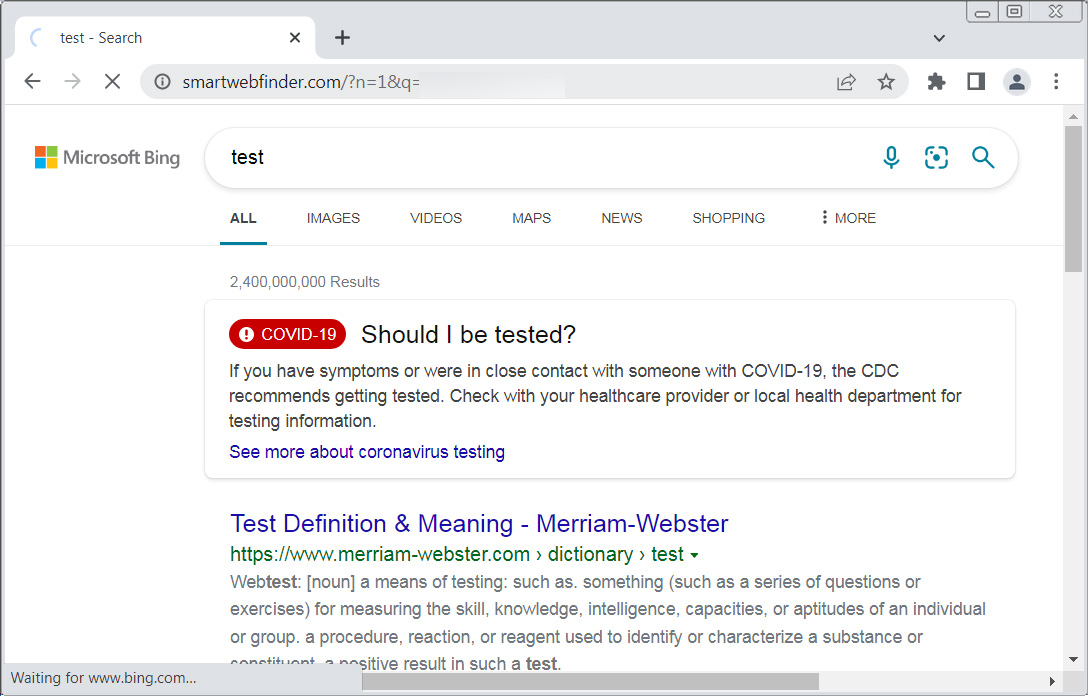
An example of the smartwebfinder.com redirect is shown below.

The problem is that when your browser first connects to Smartwebfinder.com, it will redirect you through a series of websites that can all track your browsing behavior.

This data can be used for various reasons, including showing targeted advertisements or selling to advertisers.

Why are searches redirecting through smartwebfinder.com?

Your address bar searches are redirecting through smartwebfinder.com because you have a browser extension installed that is performing the redirect. Many browser extensions are created to perform some functionality, which in many cases they do, but also includes search redirects to track your browsing habits or to generate revenue from advertising.

If your computer redirects your address bar searches through smartwebfinder.com, you likely have one of these unwanted extensions installed. These extensions can be removed manually, or you can use our removal guide below to scan for and remove them for free.

7

When the installation begins, keep following the prompts in order to continue with the installation process. Do not make any changes to default settings and when the program has finished installing, a welcome screen will be displayed.

At this screen, click on the Get Started button where you will be prompted to buy and activate a license. To continue using it for free, click on the ‘Maybe Later’ option and then select ‘Use Malwarebytes Free’.

It should be noted that the free version will scan for and remove malware, but not provide real-time protection from threats that occur when not performing a scan.

Finally, you will be shown a screen asking you to sign up for their newsletter. Just click on the ‘Open Malwarebytes Free’ option to start the program.

8

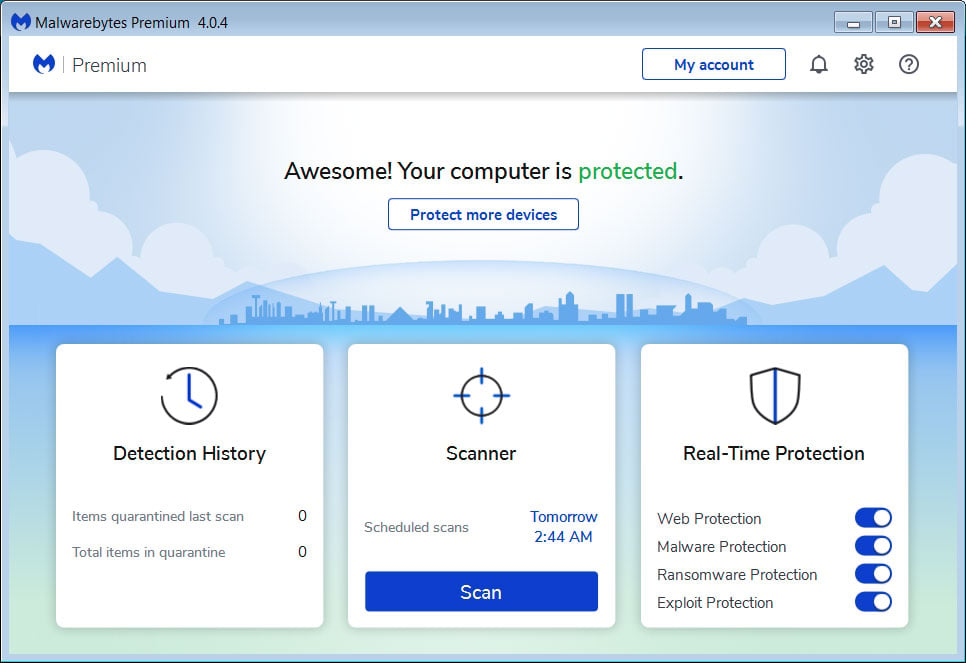
MBAM will now start and you will be at the main screen as shown below.

Malwarebytes Anti-Malware

We now need to enable rootkit scanning to detect the largest amount of malware and unwanted programs that is possible with MalwareBytes. To do this, click on the Settings gear on the top left side of the screen and you will be brought to the general settings section.

Now click on the Security option at the top of the screen. You will now be shown the settings MalwareBytes will use when scanning your computer.

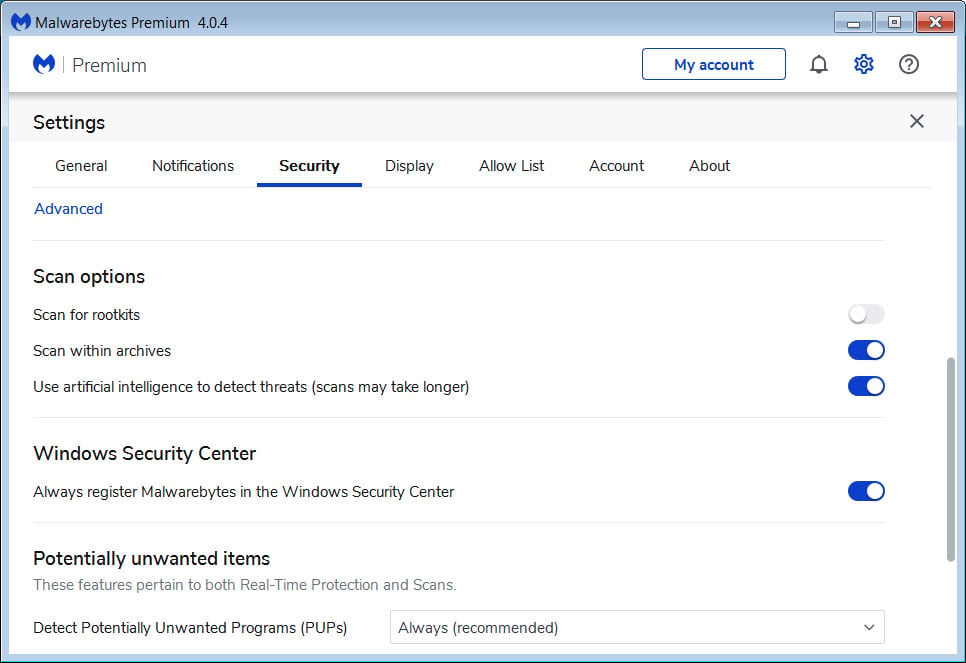
Scroll down until you see Scan option as shown below.

Malwarebytes Anti-Malware Detection and Protection Settings Page

At this screen, please enable the Scan for rootkits setting by clicking on the toggle switch so it turns blue.

Now that you have enabled rootkit scanning, click on the X button to close the settings to get back to the main screen.

10

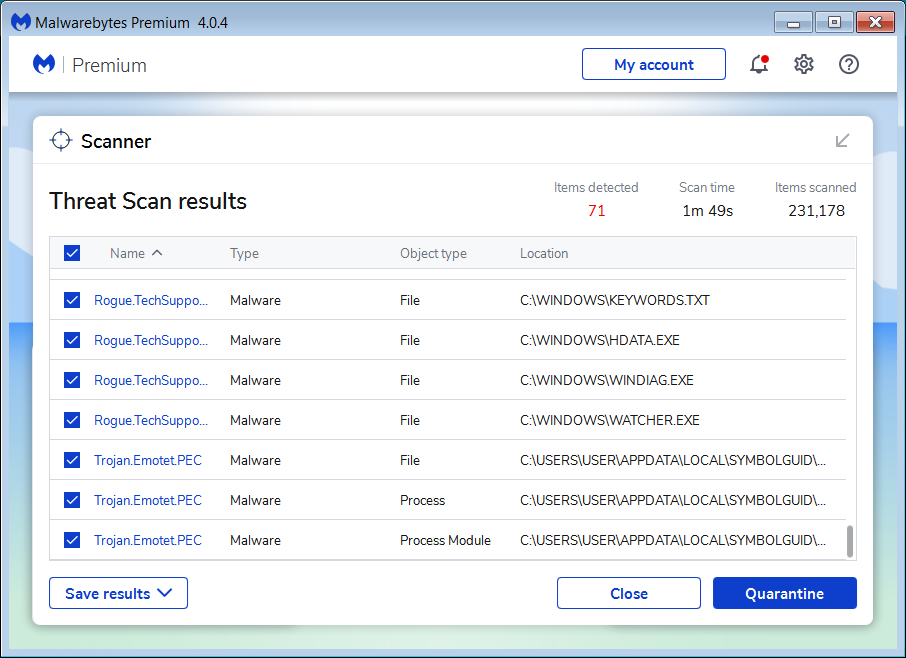
When MBAM is finished scanning it will display a screen that displays any malware, adware, or potentially unwanted programs that it has detected. Please note that our guide’s scan results image may look different than the one you are shown in this version of Malwarebytes as it was created with an older version.

MalwareBytes Scan Results

You should now click on the Quarantine button to remove all the selected items. MBAM will now delete all of the files and registry keys and add them to the program’s quarantine.

When removing the files, MBAM may require a reboot in order to remove some of them. If it displays a message stating that it needs to reboot, please allow it to do so. Once your computer has rebooted, and you are logged in, please continue with the rest of the steps.

20

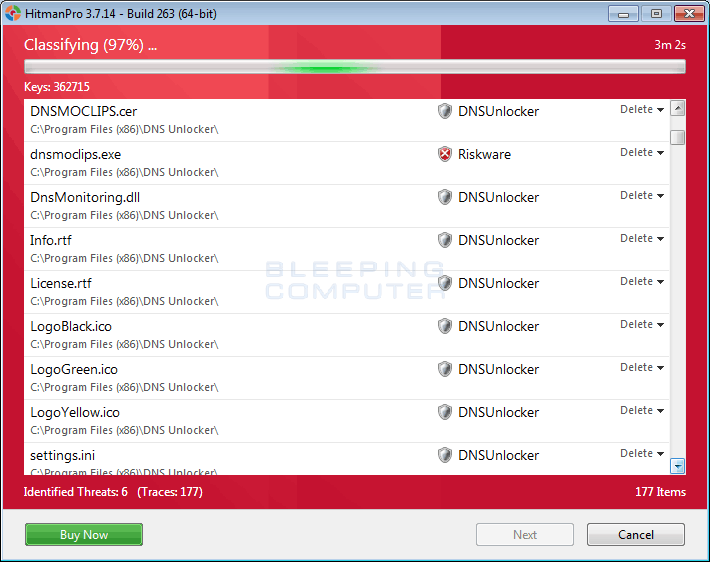
HitmanPro will now begin to scan your computer for infections, adware, and potentially unwanted programs. When it has finished it will display a list of all the items that Hitman has found as shown in the image below. Please note that the items found may be different than what is shown in the image.

MalwareBytes Scan Results

You should now click on the Next button to have HitmanPro remove the detected items. When it is done you will be shown a Removal Results screen that shows the status of the various programs that were removed. At this screen you should click on the Next button and then if prompted you should click on the Reboot button. If HitmanPro does not prompt you to reboot, please just click on the Close button.

Once your computer has has restarted or you pressed the Close button, you should now be at your Windows desktop.

Your computer should now be free of the Smartwebfinder.com program. If your current security solution allowed this program on your computer, you may want to consider purchasing the full-featured version of Malwarebytes Anti-Malware to protect against these types of threats in the future.

If you are still having problems with your computer after completing these instructions, then please follow the steps outlined in the topic linked below:

Are Your Protected?

While Malwarebytes Anti-Malware & HitmanPro will scan and clean a computer for free, the free versions do not offer real-time protection. If you want to be fully protected at all times then it is recommended that you purchase a premium version.

img

Malwarebytes Anti-Malware

Purchase the full-featured version of Malwarebytes Anti-Malware, which includes real-time protection, scheduled scanning, and website filtering, to protect yourself against these types of threats in the future!


img

HitmanPro

Purchase the full-featured version of HitmanPro, which includes discover viruses, trojans, rootkits, spyware and other malware on up-to-date and fully protected computers using cloud protection and behavioral detections, to protect yourself against these types of threats in the future!

Disclaimer: While we do earn a commission from the sale of the above products, rest assured we only recommend them due to their effectiveness.


Source link
lol

If your browser is redirected through Smartwebfinder.com when performing searches through the address bar, you most likely have a browser extension installed that has modified the default search URL. When installed, these extensions modify your web browser’s configuration to automatically send all searches through smartwebfinder.com, which ultimately redirects to Bing.com to show the requested search…

Leave a Reply

Your email address will not be published. Required fields are marked *